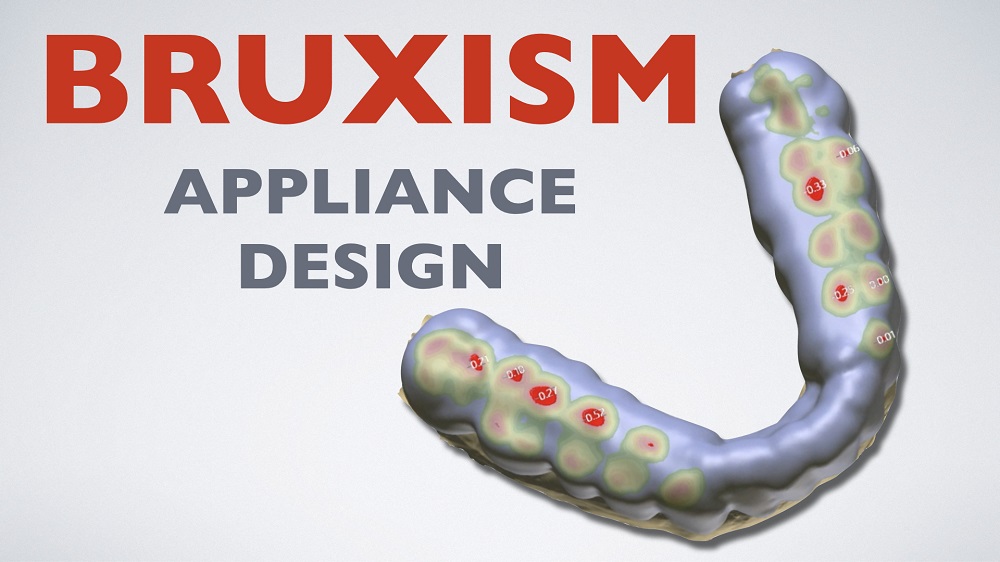
Please see blog 1 & blog 2 in this series for introduction into the rationale and appliance design choice when deciding on which type of appliance to make in the 3Shape Design Studio.
In this blog, I will discuss an appliance that I frequently use in bruxers. Many bruxers also have joint issues so typically in these types of patients, I will make a posterior occlusion appliance to reduce joint loading. Many dentists ask about group function vs canine guidance. Do you add group function or canine guidance to help reduce muscle activity?
When comparing working vs non-working side, group function vs canine guidance, the literature shows that anterior guidance results in less muscle activity. So if working and non-working interferences result in muscles firing, and we want to reduce joint loading as well, we need to consider a posterior appliance but also think about reducing muscle activity.
Activity of the elevator muscles decreases as we open the vertical dimension of occlusion. One of the goals of appliance therapy is to reduce the activity of the elevator muscles which affects the signs and symptoms associated with muscles (like headaches), and reduces joint load. As we begin to open the vertical with an appliance, the elevator muscle activity decreases, but at some point it rises again. So the range of decreased activity is somewhere between 1mm of opening and less than the patient’s vertical dimension at rest.
In bruxers, I will frequently fabricate a flat plane posterior appliance, with posterior occlusion, to support the joint when the mandible is moving. Posterior occlusion with added anterior guidance will reduce elevator muscle activity so if we need to reduce clenching as well, I will add anterior guidance to disclude the posterior teeth in lateral and protrusive movements.
Contra-indications of this type of appliance are as follows:
- Anyone with a breathing disorder - I typically want to move the mandible forward if there is a breathing issue
- TMD symptoms like ear ringing or ear pain - I typically want to bring mandible forward if I suspect the condyle is too posteriorly positioned
When designing the posterior appliance in 3Shape Splint Studio, scan the patient with the 3Shape Trios intraoral scanner and capture the bite in MIP or using the leaf gauge (see blog 4 coming up on Capturing the Bite). One of my frequent 3Shape Scanner Tips is: trim the models before sending it to the 3Shape Splint Studio, as this saves you time when designing the appliance later on. When designing the appliance, follow the 3Shape Splint Studio digital workflow and raise the posterior platform to the opposing, then refine so that posterior teeth touch evenly when closing. If you want to create anterior guidance, add an anterior ramp or develop canine guidance in lateral movements so the posterior teeth disclude when patient moves side to side. You then send the design to print in your 3D printer. I use the Formlabs 3D printer in my practice to quickly and efficiently print all types of appliances on a daily basis.
For more on capturing the bite, see blog 4 in this series.
– Written by Dr. Agatha Bis


