Do you ever wonder what is revealed in dental photography that is often missed in a routine dental appointment?
There are 7 key photos that can make or break the outcome when planning cosmetic or restorative treatment. Taking these 7 photos and discussing their elements with patients is critical to designing a beautiful and natural smile. In addition, it is invaluable when it comes to anticipating any design challenges ahead of time.
1.Front view – waist up
Many people wonder why we take this photo. This shows me where the shoulders sit, something I would never see in a typical dental picture which tends to be close up and focused on teeth only; and when the patient is sitting in the dental chair, you will often miss this important key element.
Where the shoulders sit and presence or lack of symmetry (right or left shoulder higher) often reveals an underlying Temporo-Mandibular Joint (TMJ) issue. If one of the shoulders is raised, there is often a misalignment of the jaw on the same side, especially in a symptomatic patient.

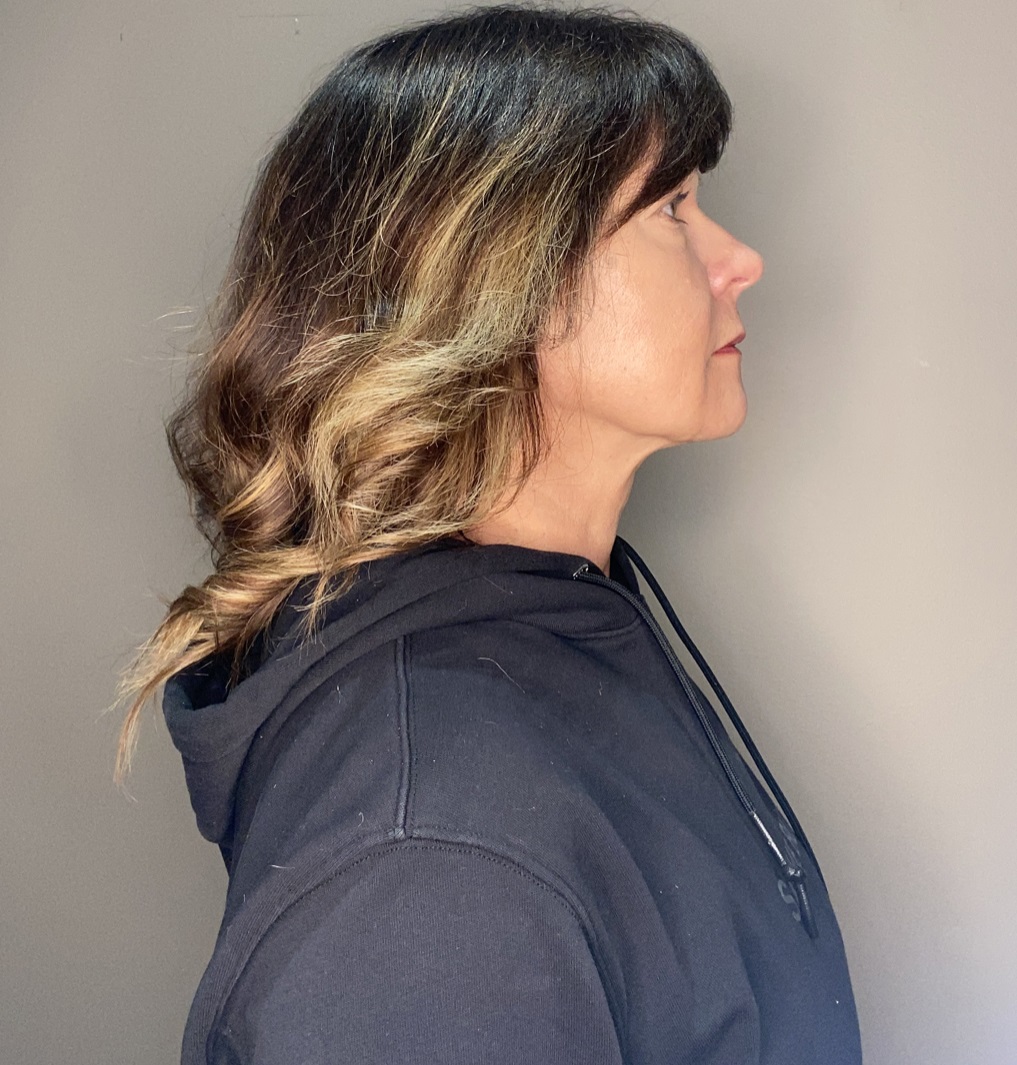
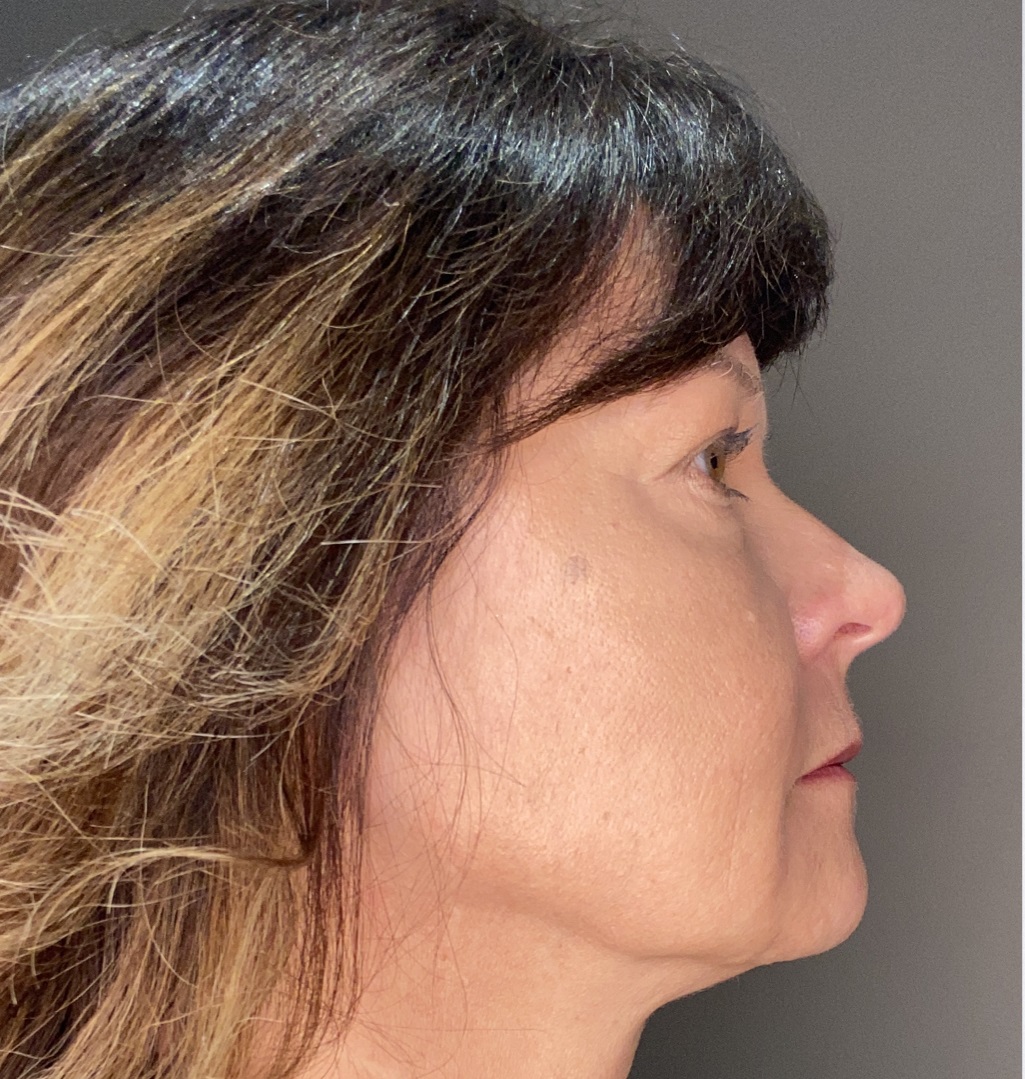
2. Side view – waist up
In a side-view, I am looking at head position as related to rest of posture. Patients with a forward head posture often have retruded mandibles, meaning the lower jaw is too far back. This can often occur if the lower jaw did not develop properly, or was held back from proper position due to a misalignment of the upper teeth. Many patients with retruded mandibles experience headaches, earaches, and jaw pain and should be assessed for a possible TMJ disorder (TMD) to prevent further joint degeneration
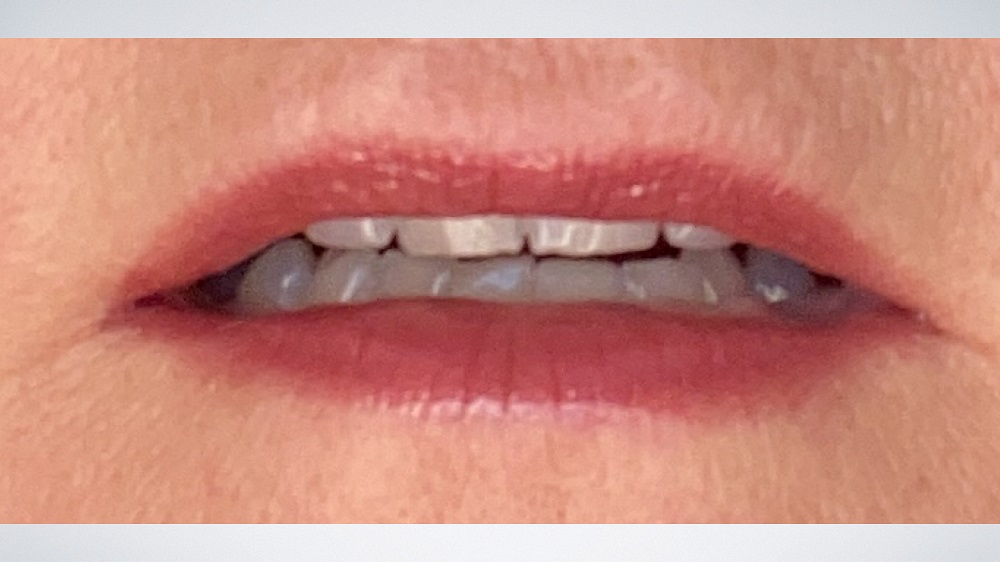
3. Resting lip – mouth slightly open
This is an important photo when considering any kind of cosmetic treatment like veneers or crowns on the front teeth. When patients ask me to improve something about their smile, this is where I begin in order to plan options for treatment that will give the patient the best results. This photo shows me their current tooth position, and where to put the teeth when we go to restore.
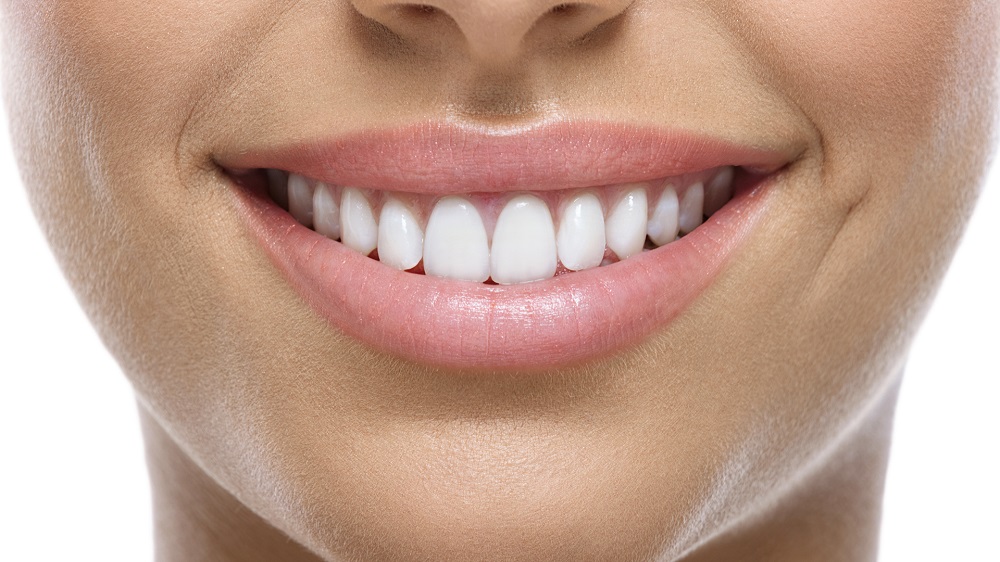
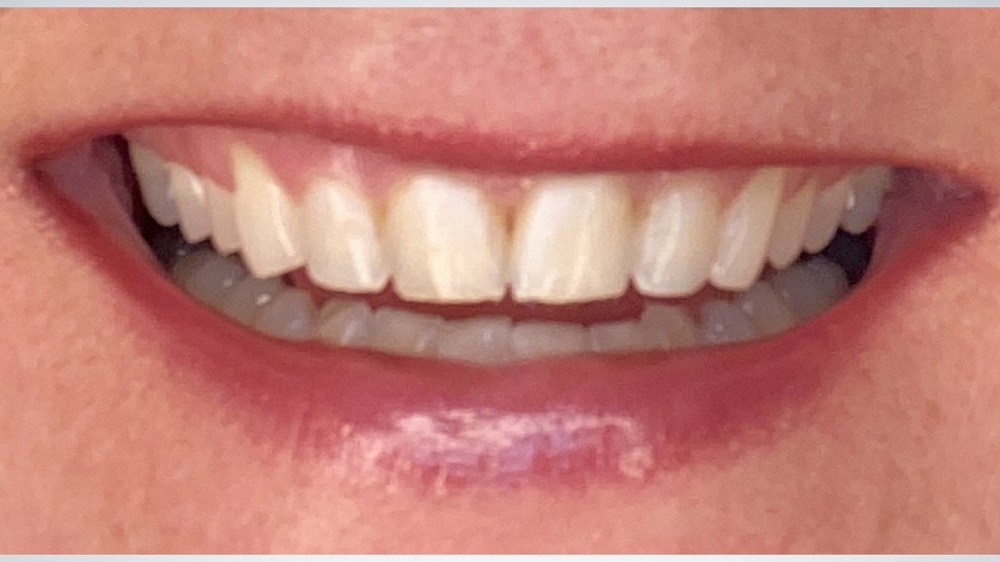
4. Smile
In a smile photo, you want to see teeth showing but not a lot of gums. If you see lots of gums then you end up with a gummy smile, which is something that many people want to change. This photo shows me how much the upper lip moves when smiling and will help me determine how much tooth will show, as well as how much we want to show. This photo also helps guide how the teeth are designed in a smile make-over as we want to follow the general outline of the lower lip. In a typical, what most people consider ‘attractive’ smile, there is a small amount of gums showing with the mouth in this position. So if a large amount of gums is showing, then there may be an issue of a gummy smile, or incorrect maxilla position. But look at other photos before jumping to any conclusions here.
5. Face profile
This photo helps me determine if the patient’s upper and lower jaw are in the correct position. There are times when a patient does not like their smile and wants to change it but the reason behind it has nothing to do with the appearance of the teeth and everything to do with the position of the upper or lower jaw. In these types of cases, if I simply restore the teeth and don’t address this issue, the patient may not be happy with the outcome so we really want to at least discuss this prior to doing anything to the teeth.
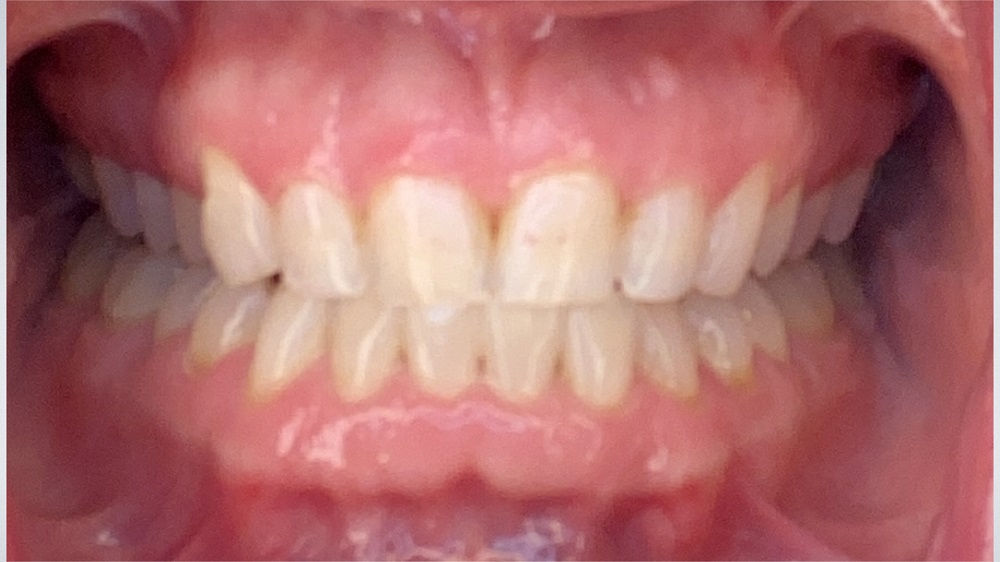
6. Retracted
A retracted photo gives me much more information when it comes to gum line and position. In an ideal situation, we want the tissue level same at canines and centrals, and slightly lower on the laterals, with symmetry. I can also see what’s going on at the gumline on the teeth themselves so if there is anything there, we can address that before deciding on which teeth to restore. This is often when we can see decay at gumline or broken and stained fillings where the lip can sometimes hide these in a smile.
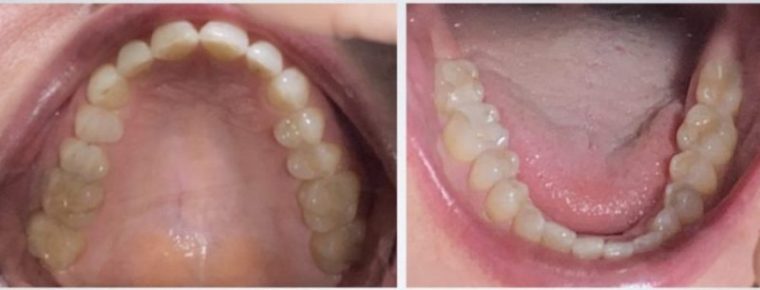
7. Full Arch
Full arch photos tell us a lot of information because you can see all the teeth in each arch at the same time so any fracture lines, broken fillings, or decay that dentists see, we can now show to the patient. In addition, this photo tells me the arch shape so if, for example, someone has a narrow arch, and an undiagnosed breathing or sleep issue, expanding the arch may help resolve not only the esthetic concerns of the patient, but greatly improve breathing as well.
As you can see, dental photography has become invaluable in helping us diagnose and plan treatment for patients and has greatly improved communication because my patient can now see what I see and help influence their treatment options by understanding the real cause of their particular issues and concerns.